

A blender turns ingredients into a smooth mixture by using a motor to spin blades that circulate food through the jar. In the kitchen, this process helps you combine ingredients for drinks, soups, sauces, and other food preparation. The result depends on what you add and how long you blend, but the basic action stays the same: moving blades break food into smaller pieces while mixing it with liquid.
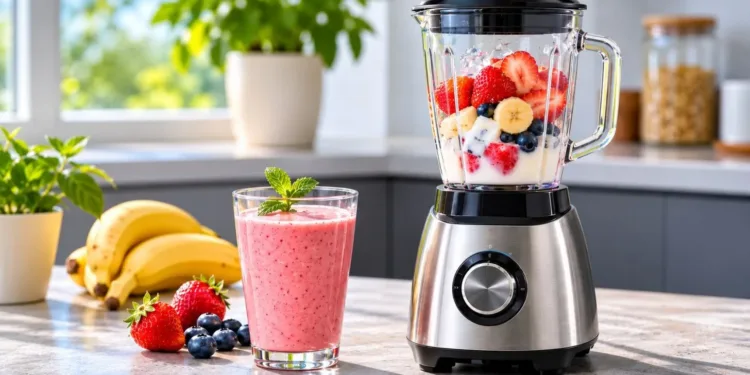
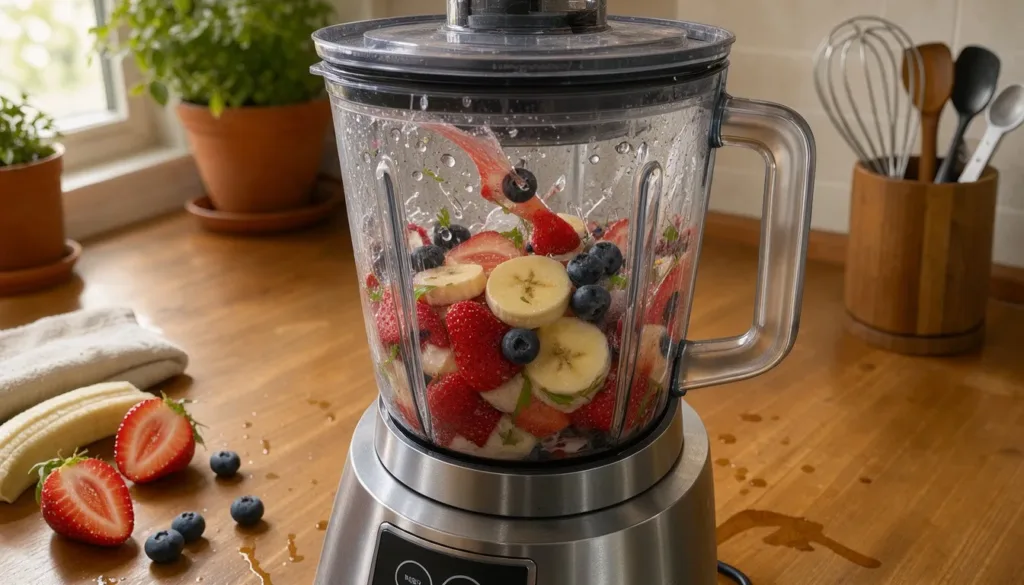
A countertop setup can pair a silver base with a black dial and a glass jug, black lid, and handle. Inside, fruit and milk become a pink smoothie, a familiar kind of smooth mixture. That everyday example captures the purpose of blending without requiring special ingredients or complicated steps. A fruit-and-milk mixture is one familiar example of the ingredients a blender can bring together.
What Are the Main Parts of a Blender?
Inside the base, an electric motor supplies the turning force that reaches the blades through the drive coupling. The drive coupling is the part that connects the jar to the base and transfers the motor’s motion to the blades. Each part has a specific job, from starting the motor to keeping ingredients contained during blending.
The base holds the motor and supports the jar on the counter. Controls on the base let you switch the appliance on and choose how it runs. Depending on the model, they may be simple buttons, a dial, or a combination. The controls tell the motor when to turn and how fast to run.
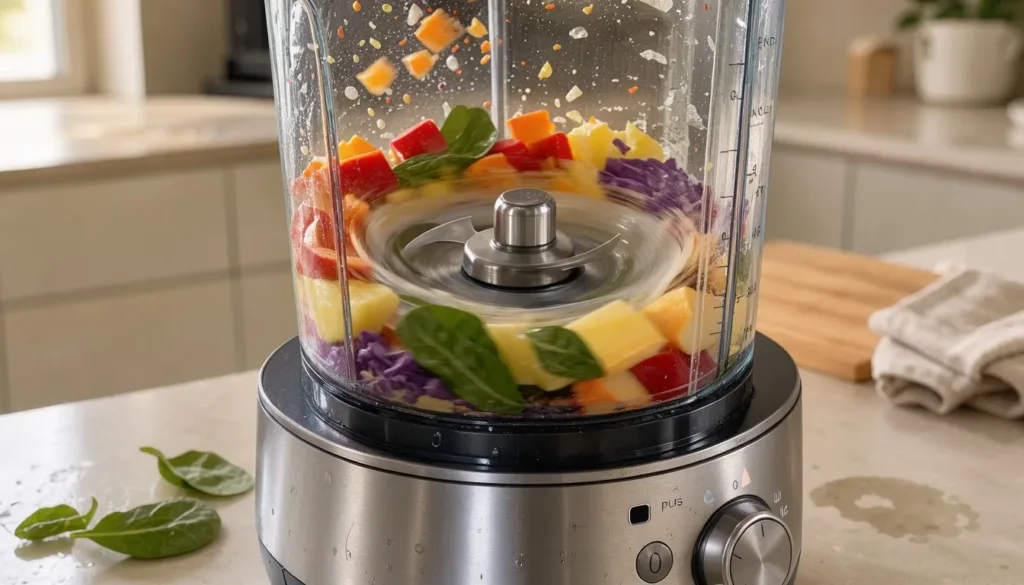
The jar, sometimes called a container, holds the ingredients while the blades spin. It connects to the base so the drive coupling can transfer motion to the blade assembly. A jar may be made from glass or plastic, while some models use stainless steel. Its shape also helps ingredients move inside as the appliance runs.
The blade assembly sits at the bottom of the jar. Its sharp blades cut and mix food as the motor turns them. Some appliances have a removable assembly that you can take out for cleaning. In other models, the blades are built into the jar and do not come apart from it.
A gasket is the ring around the blade assembly that helps prevent leaks. It forms a seal where the assembly meets the jar, helping keep liquid from escaping through the connection. The gasket must sit correctly for that seal to work. Its role matters most when the jar contains liquid or a thin mixture.
The lid fits over the jar opening and helps contain splashes while the blades turn. Some lids include a small center piece that can be removed to add ingredients during blending, though you should follow the model’s instructions. A secure lid also helps keep ingredients from jumping out as the mixture moves.
Most countertop appliances use a physical connection to pass motor motion from the base to the jar’s blade assembly. A 2022 engineering study examined a magnetic-drive blender coupler, with results specific to that design rather than typical countertop models. The magnetic-drive blender study reported an 88% performance improvement after optimizing its design.
The connection between jar and base must allow the blades to turn while the jar stays seated. The motor provides the force, the coupling transfers it, and the blade assembly acts on the food. The gasket and fitted lid help keep the mixture inside the jar as the blades turn.
How a Blender Works: Motor, Blades, and Vortex
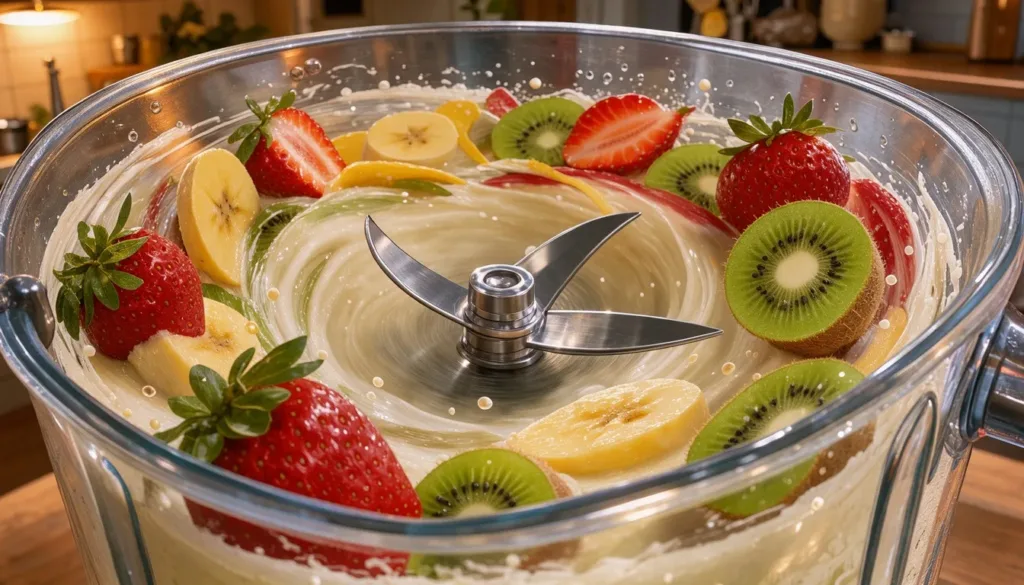
Once the motor turns the blades, the moving liquid and air begin to circulate in a spiral through the jar. A vortex is a spiral flow that circulates ingredients through the jar. This motion brings food back toward the blades, where repeated cutting and mixing can break it down further.
The blades push liquid outward as they rotate, setting the surrounding mixture in motion. Solid pieces move with the liquid, and the shape of the jar guides their path. As the ingredients travel, they are drawn toward the center and down toward the blade area.
The vortex is not just a hollow funnel in the middle of a drink. It is the broader circulating movement of liquid and food through the container. The moving mixture carries pieces around the jar, then back toward the blades for more cutting.
Large pieces may initially move unevenly because they are heavier than the liquid around them. As the blades cut those pieces smaller, the bits can travel more easily with the circulating mixture. Liquid helps carry ingredients through the jar instead of leaving them still above the blades.
Blending repeats this action many times. The blades cut, the liquid carries food around, and the pieces return to the blade area. That repeated contact turns uneven chunks into smaller particles spread throughout the mixture.
As solids break down, they release more material into the liquid, changing its texture and thickness. A mixture with enough liquid can flow around the jar more readily. If the ingredients do not move well, adding an appropriate amount of liquid can help them circulate.
Air can move through the mixture along with liquid and food. When the blades pull air into the ingredients, the finished blend can become lighter or frothy. The amount of air depends on the ingredients and how the blender is used.
Blade shape, liquid, and the movement of ingredients all help create vortex flow through the jar. The details vary among appliances, but the basic action remains a cycle of cutting and circulation. A closer look at blender motion explains how those factors affect drink texture.
Once ingredients become liquid or small enough to move freely, they continue circulating around the container. This exposes them to the blades again instead of leaving all the work to one pass. Ingredients become smoother as the circulating mixture repeatedly passes through the blade area.
From Whole Ingredients to a Smooth Blend
A short pulse can break up larger pieces before a longer blend brings the mixture closer to a smooth texture. Manual, non-electric blenders can also work without electricity, but they require you to operate them by hand. With a powered appliance, your ingredient order, selected speed, and blending time help shape the result.
Prepare the ingredients by cutting large pieces into manageable chunks. Add them to the jar without filling it beyond its marked limit. Leaving space gives the food room to move as the blades work, rather than forcing ingredients against the lid.
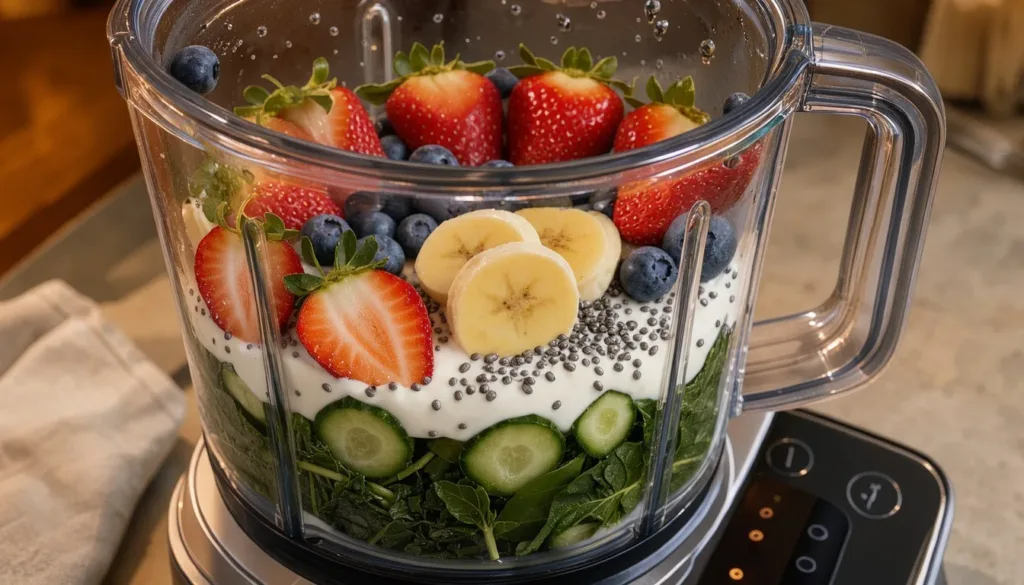
For many recipes, add liquids first, followed by softer ingredients and then harder ones. Liquid at the bottom can help the blades move ingredients through the jar. This order is useful for smoothies and sauces, though a recipe or appliance manual may give different directions.
Fit the lid before starting, then choose a speed that suits the ingredients. Blender controls commonly offer low, medium, and high speeds. Some models also have a pulse function, which runs the blades in short bursts rather than keeping them on continuously.
Use pulse to break up firm pieces or to control a chunky texture. A lower speed can help combine softer ingredients, while a higher speed can make a mixture more uniform. The best setting depends on what you are blending and the texture you want.
Blend for less time if you want to keep some pieces intact. A longer blend usually creates a smoother mixture because the ingredients pass the blades repeatedly. Stop when the texture suits the recipe, rather than running the appliance longer without a reason.
Many blenders have safety features that prevent operation unless the jar is secured or the lid is in place. These features help reduce the chance of spills, but they do not replace careful setup. Keep the appliance on a stable surface while it runs.
Hot liquids should cool slightly before blending because steam pressure can force the lid off and cause spills. Check that the controls are off before removing the jar. Follow the maker’s instructions for the amount and type of food the appliance can handle.
A blender can move from coarse chopping to a smooth texture through short pulses and longer runs. Pay attention to how the ingredients move and stop when they reach the desired consistency. Before switching the motor on, make sure the jar is seated and the lid is secured.
Choose a Blender for Your Kitchen
Start by matching the blender’s jar, controls, and blending tasks to what you make most often. A 48-ounce jar suits many everyday batches, while a personal jar can help when you usually make one serving. Think about whether your regular kitchen tasks involve ice, fibrous produce, soups, sauces, or drinks on the go.
Controls shape how much input you have during blending. Automatic programs handle preset tasks with less adjustment, while speed settings and a pulse switch give you more direct control. Consider which style fits the way you prepare food, rather than choosing by the number of options alone.
Match the Features to Your Regular Tasks
Jar size is one practical starting point, but the container should also suit how you store and serve a blend. A full-size jar works for larger batches, while a personal jar can be useful for a single portion. Consider the material and weight, especially if you lift a filled jar often.
Stainless steel can be a durable option, while glass and plastic jars have different weights and handling needs. Check whether the jar’s markings are easy to read and whether its shape is comfortable to pour from. The best container is the one that fits both your recipes and your kitchen routine.
The Vitamix Ascent X5 has a 48-ounce (1,420 ml) main jar and 11 automatic blending programs. The Ascent X5’s 11 programs suit users who want preset options for regular blending tasks. Its listed features offer a point of comparison, not a universal measure of which appliance is best.
The Vitamix Propel 510 has a 48-ounce (1,420 ml) jar, three blending programs, a speed dial, and a pulse switch. It blended fibrous fruits and vegetables smoothly in small and large batches, and crushed a pitcher of ice in a few seconds. Those details may matter if those foods are common in your kitchen.
The KitchenAid K150 has a 48-ounce (1,420 ml) jar and three speed presets. It could crush ice on its own or with liquid for frozen drinks. The K150’s ice-crushing ability is relevant if you often make chilled drinks, though your own recipe and batch size still affect results.
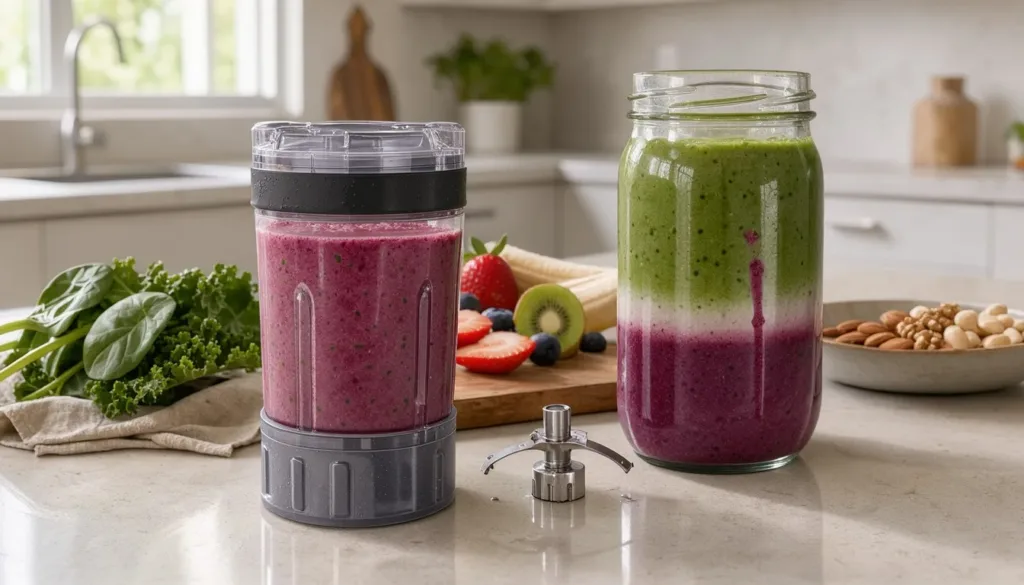
The Chefman Obliterator comes with a 48-ounce (1,420 ml) jar, and some versions also include a personal jar and travel lid. It made smooth blends with kale or pineapple in its main jar and has an auto-blend mode. Check which accessories come with the version you are considering.
Powered countertop models need electricity to run their motors. A manual, non-electric blender can work without electricity, but you must operate it by hand. A plastic power-free hand blender is also available, making it a different option from an electric countertop appliance.
Choose controls around the effort you want to spend and the textures you make. A pulse switch gives you short bursts, while automatic programs handle selected tasks. For frequent frozen drinks, prioritize a model with controls and performance suited to ice.
Make the Blender Match the Job
The right choice is the one that fits the jobs you expect it to handle most often. If you mainly blend soft fruit and liquid, you may not need the same features as someone who regularly crushes ice or mixes fibrous vegetables. Let your usual recipes guide the choice.
Clean the jar promptly after use so food does not dry into stubborn residue. Use warm soapy water and keep your hands clear of the sharp blades while cleaning. Follow the appliance’s care instructions for any parts that can be removed.
After the next blend, rinse the jar with warm soapy water and let the parts dry before storing.